How to Buy a Netflix Subscription with RedotPay Crypto Card: A Step-by-Step Guide
Using your RedotPay card to access a world of cinematic entertainment is a seamless process, but as an expert in the crypto card space, I want to ensure you navigate the setup with precision. To get your Netflix subscription running on crypto rails, follow these exact steps:
Step 1: Prepare Your RedotPay Wallet
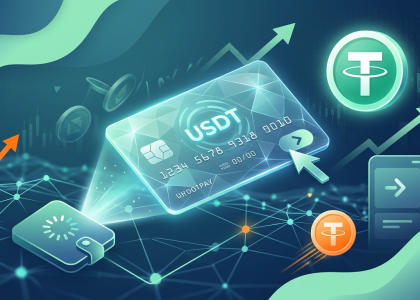
Before heading to Netflix, I always recommend ensuring your RedotPay wallet is topped up with sufficient USDT, BTC, or ETH. Keep in mind that RedotPay applies a 1.2% fee for Crypto conversion and a 1% transaction fee. I suggest maintaining a small buffer in your balance to cover these costs and ensure a smooth authorization.
🔥 RedotPay Virtual Card (Top Pick 2026)
The RedotPay Virtual Card lets you top up with USDT, BTC, or ETH and pay anywhere online — instantly and securely.
- ✅ No annual fee
- ✅ Instant virtual card
- ✅ Supports USDT, BTC & ETH
- ✅ Works with Google Ads & Facebook Ads
- ✅ Global payments, fast & secure
- 🎁 Get $5 welcome bonus
Top up crypto, spend worldwide. Perfect for ads, subscriptions, and daily payments.
Step 2: Access Your Card Details
Open your RedotPay app and navigate to the “Cards” section. Copy your 16-digit card number, CVV, and expiry date. If you haven’t done so yet, I highly recommend reviewing the Managing Your RedotPay Card Security Settings section in the app to ensure “Online Payments” are toggled on.
Step 3: Update Netflix Payment Method
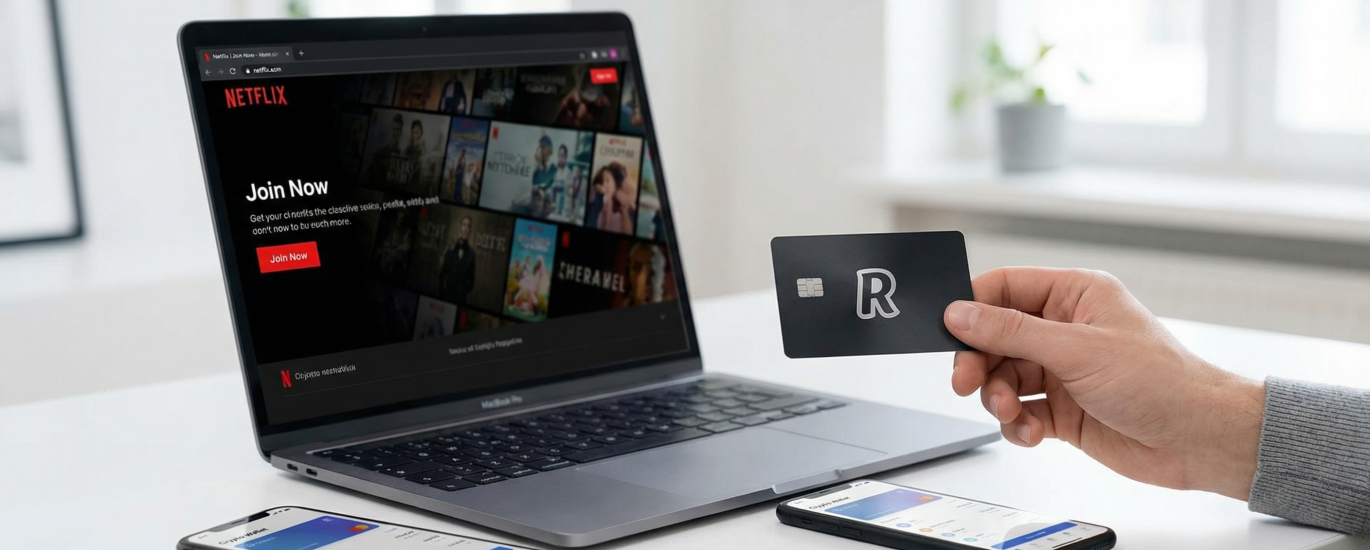
Log in to your Netflix account via a browser. Navigate to “Account” and select “Manage payment info” or “Add payment method.” Enter your RedotPay virtual card details as you would with any traditional Visa card. Since RedotPay cards are issued with high compatibility, they are widely accepted across various Netflix regions.
Step 4: Regional Optimization
In my experience, to avoid payment rejections, it is crucial that your Netflix account region matches the billing address profile associated with your card. If you encounter issues, ensure you aren’t using a restrictive VPN that might flag the transaction as suspicious.
Troubleshooting & Tips
- What should I do if an error occurs on the RedotPay payment page? Double-check your 3D Secure (3DS) authentication in the app. Netflix often requires this extra layer of verification.
- Fees: Remember the 1.2% conversion fee is applied when your crypto is swapped to fiat at the moment of purchase.
- Transaction Failure: If your account balance is deducted but the subscription doesn’t activate, don’t panic. This is usually a temporary hold that reverts if the merchant doesn’t claim the funds.
For more detailed insights, you might find these Related Articles helpful:
- What steps can I take to avoid payment rejections?
- Where You Can Use Your RedotPay Card
- When the ATM cash withdrawal fails but the account balance is deducted, what should I do?
Did this answer your question?
😞 😐 😃
Why RedotPay is the Best Choice for Netflix Global Subscribers
I’ve personally tested countless virtual cards for international streaming, and I can confidently say RedotPay stands out as the ultimate choice when paying for Netflix globally. The biggest pain point I usually face with crypto debit cards is the exorbitant exchange fees, but RedotPay keeps this incredibly low. They offer a highly competitive 1% to 1.2% crypto conversion rate. This means I get to keep more of my digital assets while still ensuring my Netflix subscription remains active month after month.
Beyond just the direct cost savings, I rarely have to worry about what steps I can take to avoid payment rejections. Because of the vast network of where you can use your RedotPay card globally, I can seamlessly link it to my Netflix account regardless of regional restrictions. Plus, I have complete control over managing my RedotPay card security settings directly within the app, giving me total peace of mind that my recurring payments are secure. Even if I ever run into an unexpected error on the payment page, the platform makes it incredibly straightforward to resolve, guaranteeing my streaming experience is never interrupted.
Prerequisites: What You Need Before Linking Your RedotPay Card
Before you head over to the Netflix billing page, there are a few essential boxes I need you to tick to ensure your RedotPay card links smoothly. Think of this as your pre-flight checklist; skipping these steps is the fastest way to hit a “Payment Declined” wall.
1. Account Verification (KYC)
First and foremost, your RedotPay account must be fully verified. I’ve seen many users try to jump straight to spending, but without completing your ID verification, your card won’t be activated for international transactions. Check your app status to ensure you see that “Verified” badge.
2. Sufficient Balance & Fee Awareness
Netflix will often run a small temporary authorization charge to verify your card. You need to have enough crypto in your wallet to cover not just the subscription tier, but also the associated transaction fees. Based on my experience, you should account for:
- A 1.2% fee for Crypto conversion if you are holding assets like BTC or ETH.
- A 1% transaction fee typically applied to non-USD or specific regional payments.
I always recommend keeping at least $2-$5 extra in your wallet above the subscription price to handle these fluctuations and the initial ping from Netflix.
3. Card Status and Regional Settings
Open your RedotPay app and make sure your card is toggled to “Active.” If you are using a Virtual Card, ensure that “Online Payments” are enabled in your security settings. Also, keep in mind that while you can use your card globally, your Netflix account region should ideally align with the currency settings of your card to minimize “payment method not supported” errors.
Related Articles
- Managing Your RedotPay Card Security Settings
- What steps can I take to avoid payment rejections?
- Where You Can Use Your RedotPay Card
- What should I do if an error occurs on the RedotPay payment page?
Did this answer your question?
😞 😐 😃
Step-by-Step: How to Pay for Netflix Using RedotPay Virtual Visa/Mastercard
Whenever I want to binge-watch my favorite shows, I rely on my RedotPay virtual card to handle my Netflix subscription seamlessly. I’ve found the process to be incredibly straightforward, bridging the gap between my crypto holdings and everyday entertainment. Let me walk you through exactly how I set this up, step by step, so you can easily replicate my process.
- Fund My RedotPay Wallet: First, I open my RedotPay app and deposit my preferred cryptocurrency, usually USDT or USDC. I always make sure I have slightly more than the actual Netflix subscription cost in my fiat balance. This extra buffer is crucial because I have to account for the crypto conversion fee, which sits at 1% to 1.2% depending on the specific transaction dynamics.
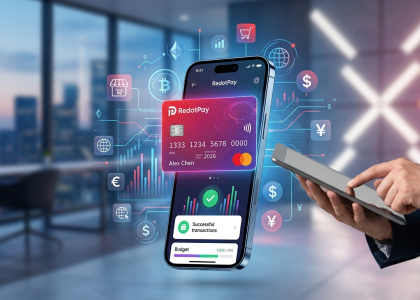
- Retrieve My Card Details: Once my wallet is funded, I navigate to the ‘Card’ tab in the app. I tap the security eye icon to reveal my virtual Visa or Mastercard details, carefully noting down the 16-digit card number, the expiration date, and the CVV code.
- Access Netflix Settings: Next, I log into my Netflix account on a web browser and head straight to the account settings. If I’m setting up a brand new account, I simply follow the standard sign-up flow until I reach the final payment page.
- Select Credit/Debit Card: On the payment method screen, I click on the option to pay via Credit or Debit Card. Netflix accepts standard Visa and Mastercard payments globally, which perfectly aligns with the virtual card RedotPay issues to me.
- Enter the RedotPay Details: I accurately type in the card number, expiration date, and CVV exactly as they appear in my app. For the billing name, I make sure to use the exact name registered to my verified RedotPay account. Mismatched details are a common reason for payment rejections, so I double-check everything here.
- Confirm and Subscribe: Finally, I hit ‘Start Membership’ or ‘Save’. I almost immediately receive a push notification on my phone from the RedotPay app confirming the successful deduction. Just like that, my streaming access is unlocked.
If you ever find that an error occurs on the RedotPay payment page during this process, the first thing I do is check my app to ensure my balance covers both the subscription and the conversion fee. I also dive into managing my RedotPay card security settings to verify that I haven’t accidentally disabled online or international transactions. Taking these quick steps ensures I never miss a billing cycle.
1. Loading Your RedotPay Wallet with USDT/BTC/ETH
Before you can enjoy your favorite Netflix series, you need to fuel your card. I always recommend starting by depositing popular assets like USDT, BTC, or ETH directly into your RedotPay app. The process is remarkably smooth: you simply select your preferred network—such as Binance Smart Chain (BEP20) or TRC20 for lower fees—and transfer the funds from your exchange or hardware wallet.
Once your crypto arrives, there is one crucial detail you need to keep in mind regarding costs. Based on my experience with the platform, RedotPay applies a 1.2% fee for Crypto conversion. Additionally, for standard transactions, there is a 1% fee to account for. I find it best to deposit slightly more than the exact Netflix subscription price to ensure the transaction clears without any hiccups.
If you encounter any issues during this stage, I suggest looking into these Related Articles for troubleshooting:
- Managing Your RedotPay Card Security Settings
- What should I do if an error occurs on the RedotPay payment page?
- When the ATM cash withdrawal fails but the account balance is deducted, what should I do?
- What steps can I take to avoid payment rejections?
- Where You Can Use Your RedotPay Card
Did this answer your question?
2. Generating Your Virtual Card Details in the App
After I successfully fund my wallet, the next immediate step is to pull up my virtual card details so I can actually type them into the Netflix billing page. I always start by opening the RedotPay app and navigating directly to the Cards tab located at the bottom of the dashboard. Here, I can see a visual representation of my active virtual crypto card.
To use this card for online subscriptions, I need the full 16-digit card number, the expiration date, and the CVV. By default, these details are masked for safety. I simply tap on the “eye” icon or the “Show Details” button overlaid on the digital card. The app usually prompts me for my PIN, Face ID, or fingerprint. This is a critical security layer, and it is a feature I highly recommend properly configuring when you are Managing Your RedotPay Card Security Settings to ensure nobody else can access your billing information.
Once authenticated, the app reveals my complete virtual card information. I like to use the convenient “copy” button next to the card number rather than typing it manually, as this prevents any typos on the Netflix checkout page. Before I proceed to Netflix, I also remind myself at this stage to check my total balance. Based on my expertise with crypto cards, it is crucial to factor in the standard 1% crypto conversion fee, alongside a potential 1.2% transaction fee depending on the merchant region. Keeping a slightly higher crypto balance to cover these minor network and conversion fees is exactly what steps I can take to avoid payment rejections when Netflix attempts to authorize the card.
3. Updating Payment Method in Netflix Account Settings
Now that you have your virtual card ready and loaded with assets, I will guide you through the seamless process of linking it to your Netflix profile. Transitioning your billing to a crypto-backed solution is straightforward, but it requires attention to detail to ensure a successful authorization.
First, I log in to my Netflix account via a web browser and navigate to the “Account” section. Under the “Membership & Billing” category, I select the option to “Manage payment
Pro-Tip: Managing Regional Restrictions and Currency Conversion Fees
In my extensive experience using the RedotPay crypto card for streaming subscriptions, mastering regional restrictions and currency fees is the real secret to seamless, uninterrupted binge-watching. Since Netflix enforces strict region-locking based on both your active IP address and your payment details, I always ensure my VPN location perfectly matches the billing address I have linked to my RedotPay virtual card. If I ever forget to align my digital location with my card’s profile, Netflix’s system immediately flags the mismatch, which is the most common reason I see for frustrating payment rejections.
Beyond navigating region settings, I carefully manage my multi-currency wallet’s conversions to stretch my crypto further. When my RedotPay card executes a fiat payment for my Netflix plan using my digital assets, I always factor in the strict 1% crypto conversion fee. Additionally, depending on the specific local currency of the Netflix region I am paying in, I also account for an extra 1.2% cross-border or foreign transaction fee.
To keep these costs as low as possible, I utilize the RedotPay Multi-Currency Wallet to hold specific local fiat currencies in my currency account beforehand. By proactively checking my RedotPay card security settings and calculating that combined 1% to 1.2% fee margin in advance, I guarantee my account balance fully covers the deduction. Taking these exact steps ensures I never have to deal with payment errors on the RedotPay payment page or situations where the account balance is deducted but the subscription renewal ultimately fails.
🔥 RedotPay Virtual Card (Top Pick 2026)
The RedotPay Virtual Card lets you top up with USDT, BTC, or ETH and pay anywhere online — instantly and securely.
- ✅ No annual fee
- ✅ Instant virtual card
- ✅ Supports USDT, BTC & ETH
- ✅ Works with Google Ads & Facebook Ads
- ✅ Global payments, fast & secure
- 🎁 Get $5 welcome bonus
Top up crypto, spend worldwide. Perfect for ads, subscriptions, and daily payments.