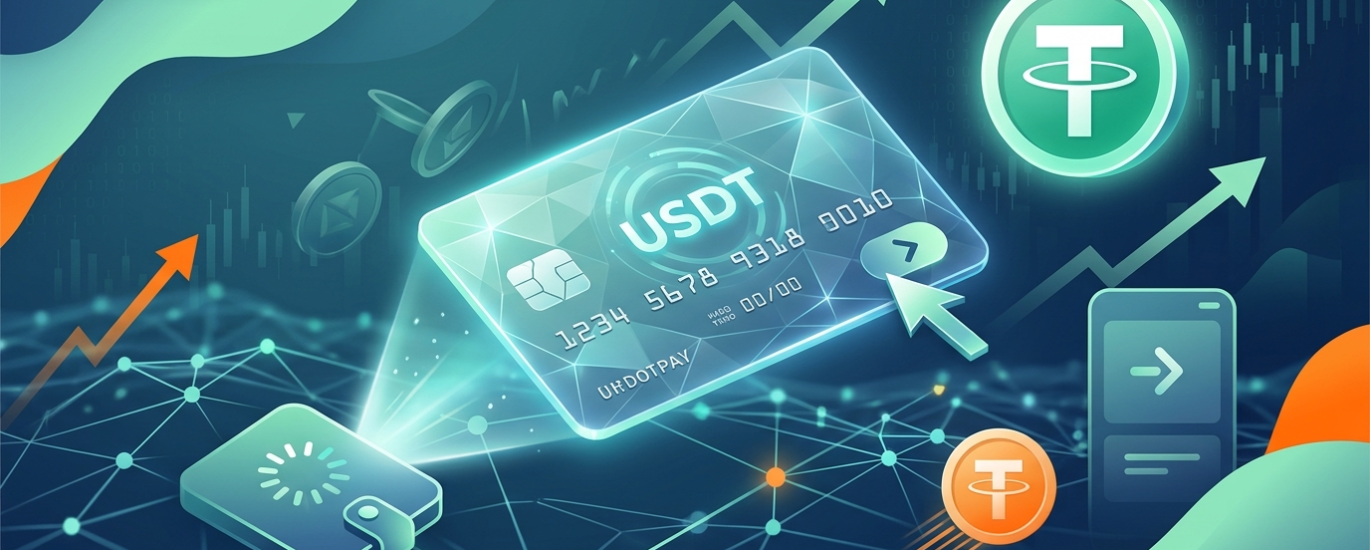
Ultimate Guide: How to Fund RedotPay Virtual Card with USDT (2026 Tutorial)
I know how critical it is to get your funds moving without getting swallowed by hidden costs. When I fund my RedotPay Virtual Card with USDT, I always keep a close eye on the fee structure to ensure I’m getting the most value. Based on my experience with the platform in 2026, here is exactly what you need to expect regarding transaction costs and technical logistics.
When you deposit USDT into your RedotPay wallet, the internal Crypto conversion process is remarkably streamlined. However, it is essential to account for the 1.2% fee associated with certain transaction types and the standard 1% fee that typically applies to card payments or specific funding routes. I’ve found that these rates remain some of the most competitive in the virtual card market, especially for users who prioritize global accessibility.
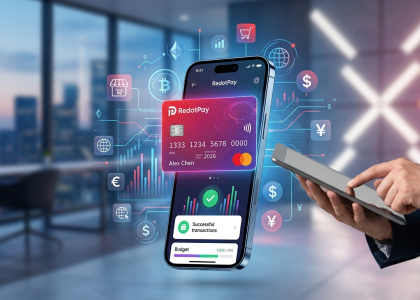
🔥 RedotPay Virtual Card (Top Pick 2026)
The RedotPay Virtual Card lets you top up with USDT, BTC, or ETH and pay anywhere online — instantly and securely.
- ✅ No annual fee
- ✅ Instant virtual card
- ✅ Supports USDT, BTC & ETH
- ✅ Works with Google Ads & Facebook Ads
- ✅ Global payments, fast & secure
- 🎁 Get $5 welcome bonus
Top up crypto, spend worldwide. Perfect for ads, subscriptions, and daily payments.
Step-by-Step: Funding Your Card
To initiate the funding process, I simply navigate to the “Deposit” section of the app, select USDT, and choose my preferred network (such as TRC20 or BEP20 for the lowest network fees). Once the USDT hits my wallet, it is instantly available for Crypto conversion to your card balance. It’s that simple.
Related Articles
- Managing Your RedotPay Card Security Settings
- What should I do if an error occurs on the RedotPay payment page?
- When the ATM cash withdrawal fails but the account balance is deducted, what should I do?
- What steps can I take to avoid payment rejections?
- Where You Can Use Your RedotPay Card
Did this answer your question?
😞
😐
😃
Pre-Funding Essentials: Preparing Your USDT Assets for Transfer
Before I initiate any transfer to my RedotPay account, I always make sure my digital assets are fully prepared to avoid any unnecessary delays or failed transactions. Funding your virtual card with USDT is straightforward, but missing a crucial preparation step can leave your funds stuck in transit or subject to unexpected costs.
First and foremost, I verify that my USDT is sitting in a readily accessible external crypto wallet or exchange, such as Binance, OKX, or a non-custodial option like Trust Wallet. I always double-check that my USDT is liquid and not locked in staking, farming, or fixed-term earning products.
Next, I pay extremely close attention to the blockchain network I plan to use. RedotPay supports multiple networks for USDT deposits, typically including TRC20 (Tron), BEP20 (BNB Smart Chain), and ERC20 (Ethereum). I personally prefer using TRC20 or BEP20 because the network fees are drastically lower and the transaction settlement times are incredibly fast. However, whichever network you choose, you must ensure that your sending wallet supports that exact same network. I cannot stress this enough: sending funds across mismatched networks will almost certainly result in a permanent loss of your assets.
Another critical step I never skip is securing enough “gas” for the network withdrawal fee. If you are sending USDT directly from a decentralized, self-custody wallet, you need the native token of that respective blockchain to process the transaction. For instance, if I am sending my USDT via the TRC20 network, I make sure I hold a small amount of TRX in my wallet to cover the energy costs. If I use BEP20, I need a fraction of BNB. If you are withdrawing directly from a centralized exchange, they will usually just deduct this network fee directly from your USDT balance, which is slightly more convenient.
Finally, I always keep RedotPay’s internal fee structure in mind during my preparation. By preparing exactly what I need in pure USDT, I protect the value of my deposit. If I were to deposit a different cryptocurrency and rely on the platform to convert it to fiat or a spendable balance, I am aware that RedotPay applies specific crypto conversion rates—typically around a 1% to 1.2% crypto conversion fee depending on the exact parameters. By strictly prepping and transferring USDT, I bypass these extra conversion layers and ensure my virtual card gets the maximum possible funding power.
Step-by-Step: Depositing USDT into Your RedotPay App Wallet
I’ve spent years navigating the crypto card landscape, and I can tell you that RedotPay has streamlined the funding process to be exceptionally user-friendly. To get your USDT into your app wallet, follow these precise steps to ensure your funds arrive safely and quickly.
First, open your RedotPay app and navigate to the Assets tab located at the bottom of the screen. Tap on the Deposit button. From the list of available cryptocurrencies, select USDT. This is a critical juncture: you must choose the correct network. RedotPay typically supports BNB Smart Chain (BEP20), Arbitrum One, and TRON (TRC20). I always recommend double-checking that the network you select on RedotPay matches the withdrawal network on your external exchange or wallet to avoid a permanent loss of funds.
Once you have selected your preferred network, the app will generate a unique Deposit Address and a corresponding QR code. Copy this address directly to your clipboard. Switch over to your funding source—whether that is Binance, OKX, or a self-custody wallet like MetaMask—and initiate a withdrawal. Paste the RedotPay address into the recipient field and enter the amount of USDT you wish to transfer.
After confirming the transaction on the blockchain, your funds will appear in your RedotPay wallet. It is important to keep the fee structure in mind: while RedotPay does not charge a deposit fee, there is a 1% fee for the transaction and a 1.2% fee for Crypto conversion when you eventually spend those funds. I find it helpful to account for these small margins when planning my balance.
Related Articles
- Managing Your RedotPay Card Security Settings
- What should I do if an error occurs on the RedotPay payment page?
- When the ATM cash withdrawal fails but the account balance is deducted, what should I do?
- What steps can I take to avoid payment rejections?
- Where You Can Use Your RedotPay Card
Did this answer your question?
😞 😐 😃
Selecting the Right Network: TRC20 vs. ERC20 vs. BSC for Low Fees
Whenever I prepare to fund my RedotPay virtual card with USDT, the very first decision I make is which blockchain network to use. The choice essentially boils down to TRC20, ERC20, or BSC, and making the wrong selection here can cost you a significant portion of your deposit in unnecessary network gas fees.
Let me break down exactly how I evaluate these three options based on my daily usage:
- BSC (Binance Smart Chain / BEP20): If I am transferring funds directly from a compatible exchange or a Web3 wallet, I almost always opt for BSC. It boasts some of the lowest fees in the crypto space, frequently costing mere cents per transaction, without compromising on speed. It is the most cost-effective route for small to medium top-ups.
- TRC20 (Tron Network): This is my secondary, and highly reliable, go-to choice. The transaction fees remain exceptionally low—typically around 1 USDT—and the settlement speed is incredibly fast. I usually see the funds arrive in my RedotPay wallet within just a few minutes.
- ERC20 (Ethereum Network): I strictly avoid using ERC20 for funding my card. The Ethereum network is notorious for high gas fees, which can easily range from $5 to over $20 depending on network congestion. Unless you are moving a massive institutional amount of stablecoins where the fixed fee becomes negligible, the cost simply isn’t justifiable for regular funding.
Selecting a low-fee network like BSC or TRC20 is crucial for maximizing the actual spending power that arrives in your account. I always aim to preserve as much of my capital as possible during the transfer phase, because once the funds are on the card, standard platform fees take over. For instance, I always factor in the mandatory 1% crypto conversion fee that applies when utilizing the card. By saving $10 or $15 on an ERC20 gas fee and paying $0.30 on BSC instead, I essentially neutralize that 1% conversion cost.
As a side note for those of you who also use the physical version of the card alongside the virtual one: maximizing your inbound transfer efficiency becomes even more important when you consider ATM cash withdrawals. If I use my physical USD card at an ATM, I am subject to a 2% fee as long as my monthly withdrawals are at or below $10,000 USD (which jumps to 3% if I exceed that limit). Every dollar saved by choosing the right USDT network upfront directly offsets these backend withdrawal and conversion costs.
Copying Your Unique RedotPay Deposit Address Accurately
I cannot stress this enough: accuracy is everything when you are moving your hard-earned USDT into your RedotPay wallet. To get started, I navigate to the “Deposit” section within the RedotPay app and select USDT as my preferred asset. It is crucial to pay close attention to the network selection here; I always double-check that I am choosing the correct blockchain (such as Binance Smart Chain or Tron) to match the platform I am sending from.
Executing the Transfer: Moving USDT from Binance, OKX, or Personal Wallets
Whenever I need to top up my RedotPay card, I find that transferring USDT from a major exchange like Binance or OKX, or even a personal wallet like MetaMask or Trust Wallet, is incredibly straightforward. Let me walk you through the exact steps I take to ensure my funds arrive safely and swiftly.

First, I open my RedotPay app to retrieve my unique deposit address. I navigate to the Deposit section and select USDT. This is where I have to make a crucial decision: choosing the right blockchain network. I personally prefer using TRC20 (Tron) or BEP20 (BNB Smart Chain) because they offer significantly lower transaction fees and faster confirmation times compared to the ERC20 (Ethereum) network. Once I select my preferred network, the app generates a specific deposit address and a QR code. I always double-check and copy this exact address directly to my clipboard to avoid any manual typing errors.
Next, I switch over to my source platform—let’s use Binance or OKX for this example. I go to my funding or spot wallet, locate my USDT balance, and hit Withdraw. If I am using a personal Web3 wallet, I simply click Send. I then paste the RedotPay deposit address I copied earlier into the recipient field.
Here is the most critical step where I see many beginners make costly mistakes: the network must match exactly. If I selected TRC20 in my RedotPay app, I absolutely must select the TRC20 network for the withdrawal on Binance or my personal wallet. Sending funds across mismatched networks will result in a permanent loss of assets. After ensuring the networks match perfectly, I enter the amount of USDT I want to transfer.
- For Exchange Users: You will need to complete your platform’s standard security verifications (such as email confirmation, SMS, or Authenticator app codes) to authorize the withdrawal.
- For Personal Wallet Users: You must ensure you have enough native gas tokens in your wallet (like TRX for the Tron network or BNB for the BSC network) to cover the blockchain’s transaction fee.
Keep in mind that while depositing crypto is generally free on the receiving end, your exchange or wallet will charge a small network withdrawal fee. Also, as I manage my card expenses, I always remember the standard platform rates: a 1% to 1.2% crypto conversion fee applies when using the card for fiat purchases. I factor this into my calculations to ensure I transfer enough USDT to cover my intended purchases along with any conversion fees.
Once I submit and confirm the transaction, it usually takes just a few minutes for the blockchain to process it. I then receive a notification from my RedotPay app confirming the successful deposit, meaning my virtual card is funded and ready to be used.
Converting USDT to Card Balance: Maximizing Your Spending Power
I approach the funding process with a focus on efficiency, as getting your USDT into a spendable format is the most critical step in the RedotPay ecosystem. When you hold USDT in your RedotPay wallet, you aren’t just holding a digital asset; you are holding a global payment solution.
To maximize your spending power, it is essential to understand how your balance is treated during a transaction. Unlike traditional prepaid cards where you might manually “sell” crypto for fiat before swiping, RedotPay simplifies this through real-time conversion. However, this convenience comes with a specific fee structure that you must keep in mind to manage your funds effectively.
For every transaction where your USDT is converted to fulfill a payment, there is a Crypto conversion fee of 1%. This is a competitive rate in the virtual card market, ensuring that the majority of your digital wealth stays in your pocket. Furthermore, if you are using your card for a purchase that isn’t in USD, a 1.2% fee for transactions in other currencies will apply.
By maintaining a healthy USDT balance in your RedotPay app, you ensure that your virtual card is always ready for instant use. Whether you are subscribing to digital services or shopping at international retailers, the seamless integration between your crypto wallet and the card’s payment gateway allows you to bridge the gap between blockchain and daily commerce without the typical hurdles of traditional banking.
Related Articles
- Managing Your RedotPay Card Security Settings
- What should I do if an error occurs on the RedotPay payment page?
- What steps can I take to avoid payment rejections?
- Where You Can Use Your RedotPay Card
Troubleshooting Common Deposit Delays and Network Confirmations
In my experience managing crypto assets, waiting for a deposit to reflect can be the most nerve-wracking part of the process. When I fund my RedotPay virtual card with USDT, I usually see the balance update within a few minutes, but occasionally, delays happen. If your funds haven’t arrived yet, don’t panic; let me walk you through the exact troubleshooting steps I use.
First, I always check the network confirmations. Different blockchains require a different number of block confirmations before RedotPay officially credits your account. If you used the Ethereum network (ERC20), high network congestion can easily cause a delay ranging from 10 to 30 minutes. Networks like TRC20 (Tron) and BEP20 (BSC) are typically much faster, but during peak global trading hours, even these can experience temporary bottlenecks. I highly recommend copying the Transaction ID (TxID) from your sending exchange or wallet and pasting it into the respective block explorer, such as Tronscan or Etherscan. If the status says “Unconfirmed” or “Processing,” the blockchain is simply taking its time, and RedotPay is waiting right alongside you.
Another critical issue I frequently see involves mismatched networks. You must ensure that the network you selected on your withdrawal platform perfectly matches the USDT deposit network provided by your RedotPay app. If you accidentally send funds across incompatible networks, it can result in severe delays that require advanced customer support intervention, or worse, permanently lost funds.
Once your deposit is fully confirmed on the blockchain and your account is successfully funded, you are ready to transact. Keep in mind that as you spend, standard platform rates apply. Depending on your transaction types and regional setup, you may encounter a crypto conversion fee of 1% or 1.2% during your daily fiat purchases, so I always factor this into my initial deposit amount to ensure I have ample coverage.
If your TxID shows as “Success” on the blockchain but the USDT still isn’t reflecting in your app after a couple of hours, I recommend reviewing your application parameters. Sometimes, checking out guides on Managing Your RedotPay Card Security Settings can help rule out any automated security holds placed on incoming transfers. If you eventually move on to spending and hit a snag, you can also explore related articles like What should I do if an error occurs on the RedotPay payment page?, When the ATM cash withdrawal fails but the account balance is deducted, what should I do?, or What steps can I take to avoid payment rejections? to keep your card running smoothly. Understanding these systems inside and out is exactly how I maintain seamless access to my funds, so I never have to second-guess Where You Can Use Your RedotPay Card.
🔥 RedotPay Virtual Card (Top Pick 2026)
The RedotPay Virtual Card lets you top up with USDT, BTC, or ETH and pay anywhere online — instantly and securely.
- ✅ No annual fee
- ✅ Instant virtual card
- ✅ Supports USDT, BTC & ETH
- ✅ Works with Google Ads & Facebook Ads
- ✅ Global payments, fast & secure
- 🎁 Get $5 welcome bonus
Top up crypto, spend worldwide. Perfect for ads, subscriptions, and daily payments.